 Volition
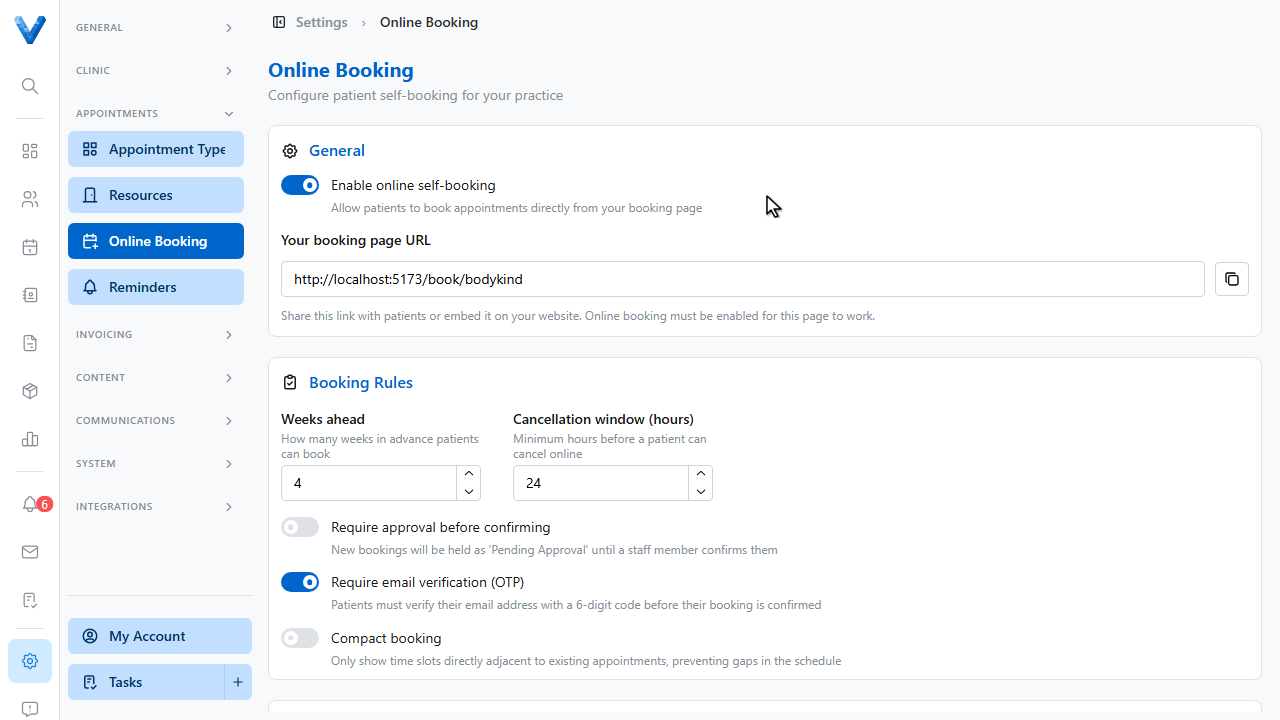
Go to Settings and open Online Booking.
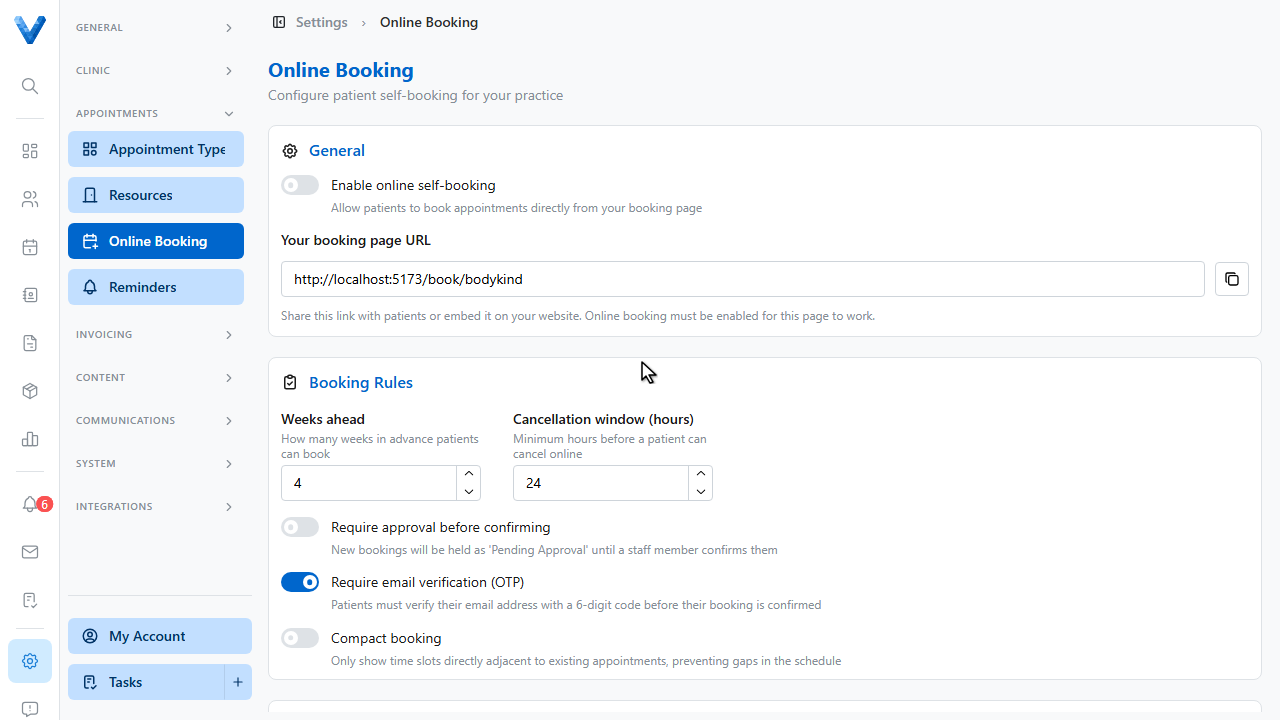
Switch on Enable online self booking.
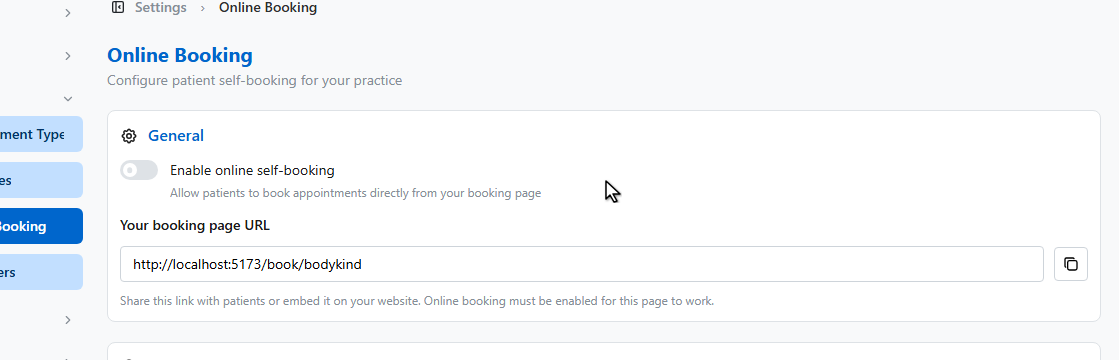
Your booking page URL appears below — share this link with patients or embed it on your website.
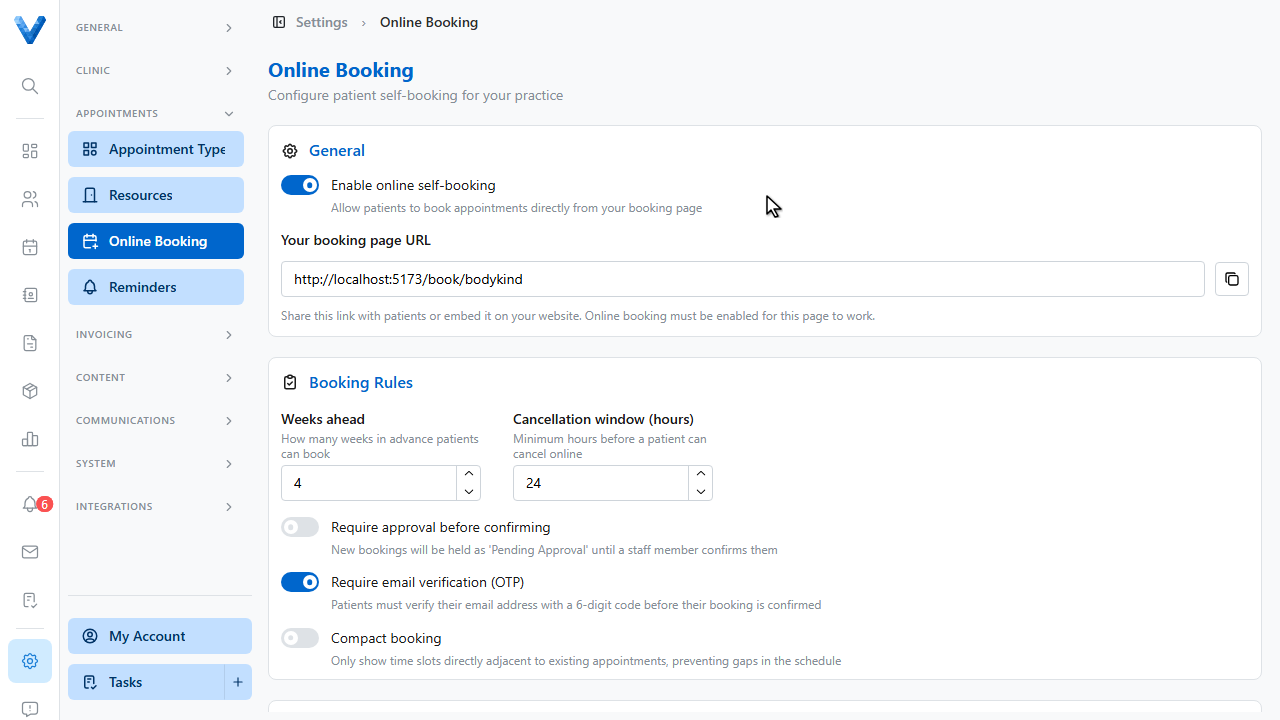
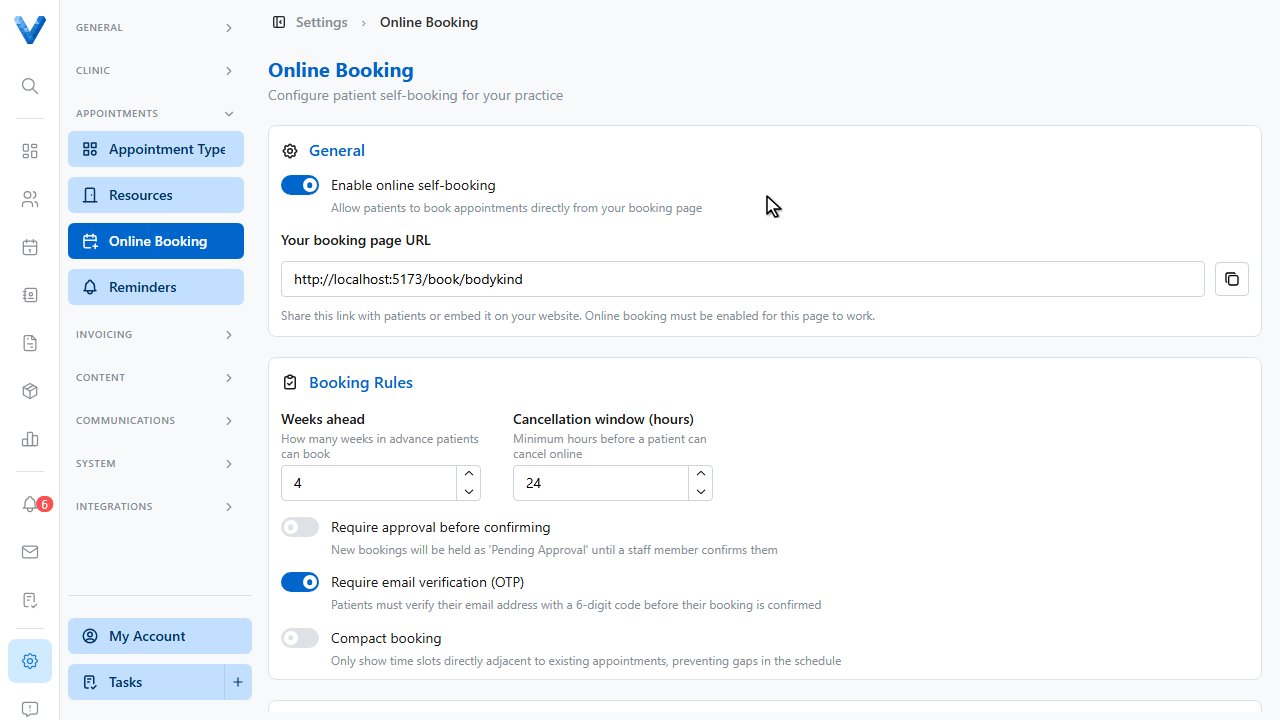
The booking rules control how far ahead patients can book, the cancellation window, and whether new bookings need staff approval or email verification before they’re confirmed.
Under Appearance, pick how your logo and name are laid out and add an optional greeting message for the top of the page.
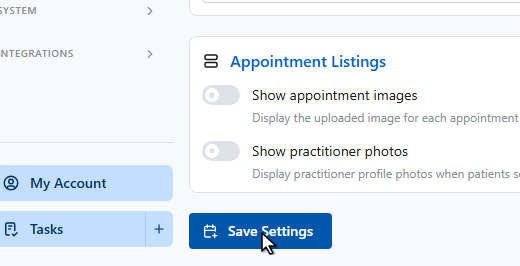
Click Save Settings.
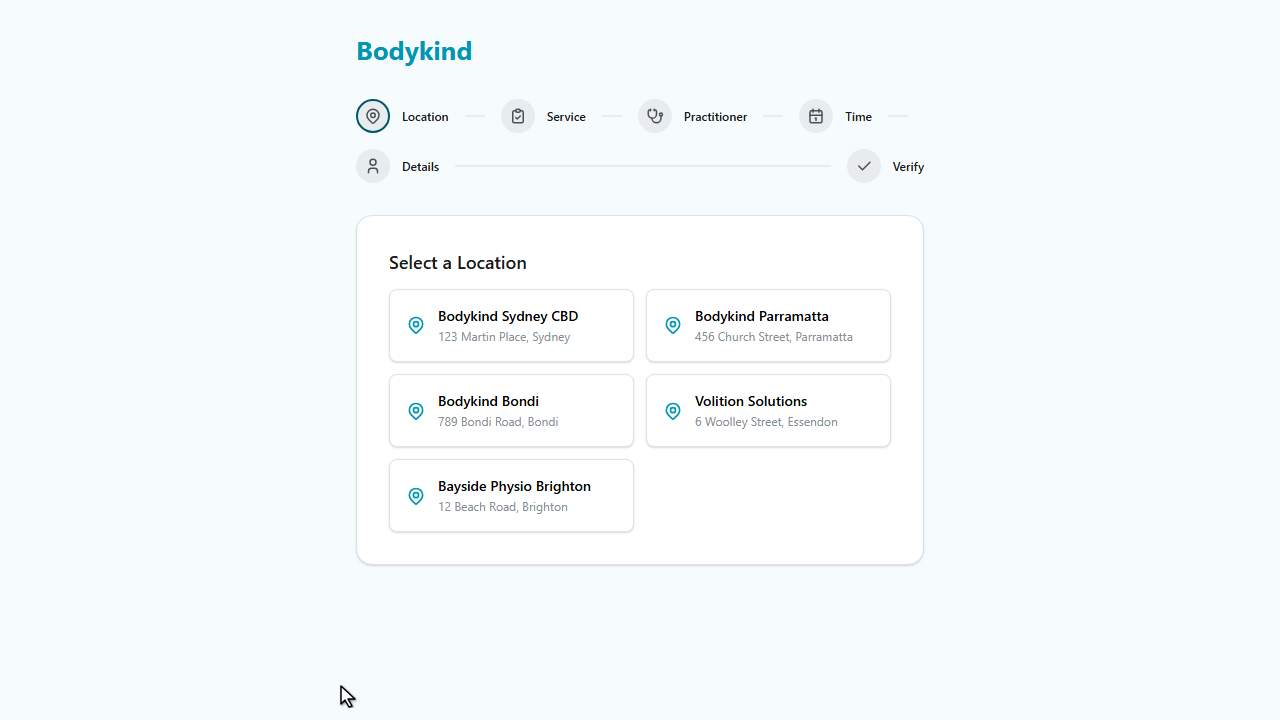
This is what patients see — they pick a location, appointment type, practitioner, and time, and confirm with their details.
Bookings made here land on your calendar like any other appointment.
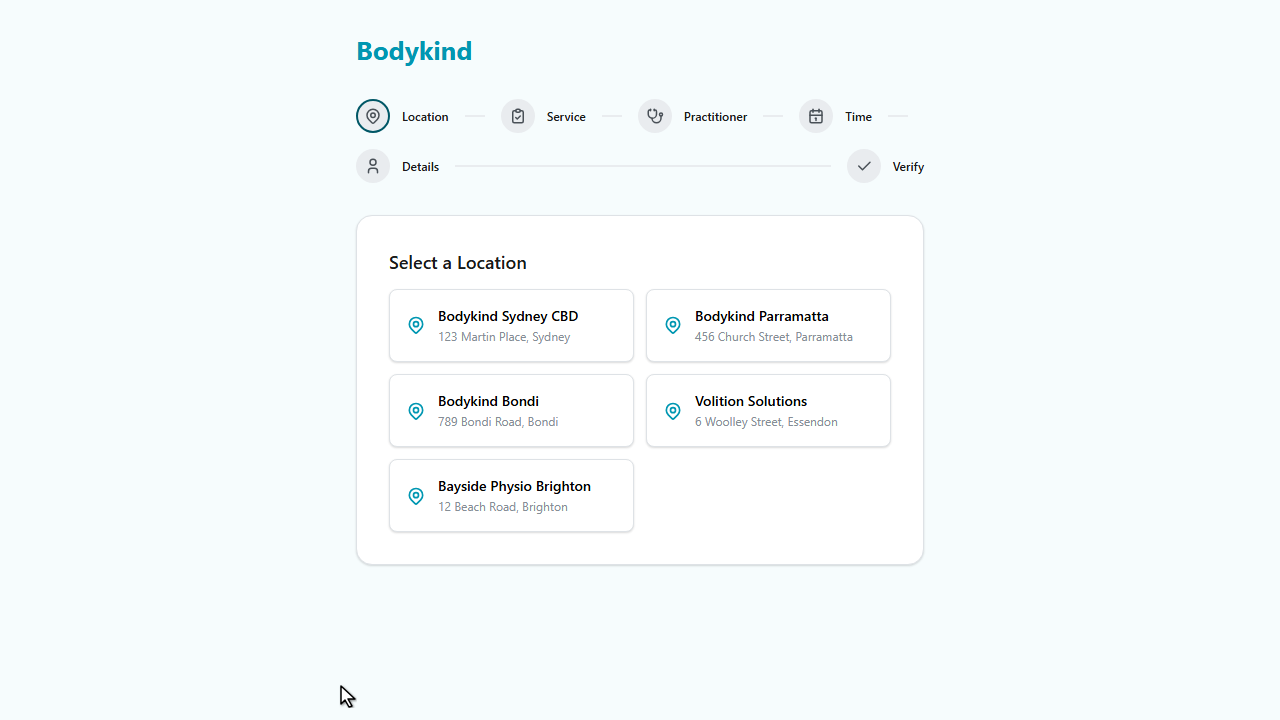
A location, practitioner, or appointment type only appears on the booking page if its own Show in public booking portal switch is on — check those if something is missing from the patient view.