 Volition
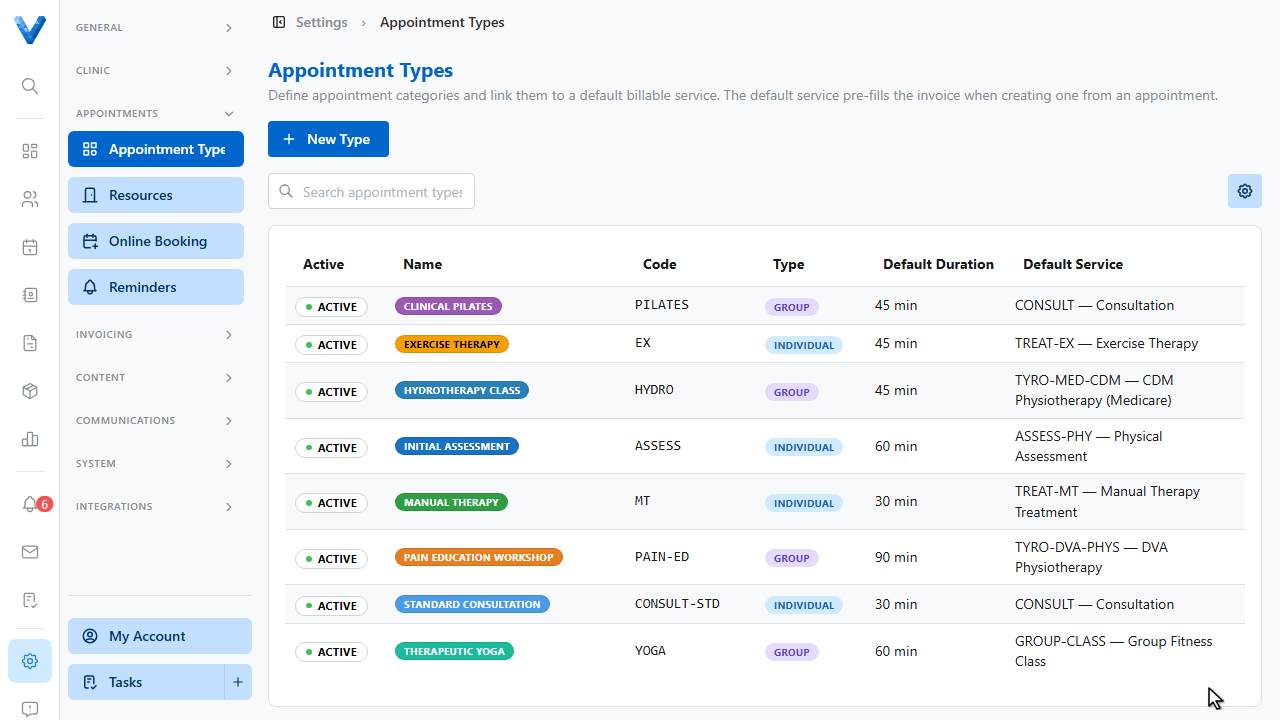
Go to Settings and open Appointment Types. Starter types are added for you, so you can edit those or add your own.
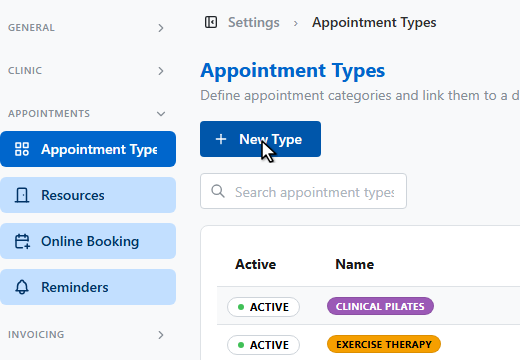
Click New Type to create one.
Give the type a name.
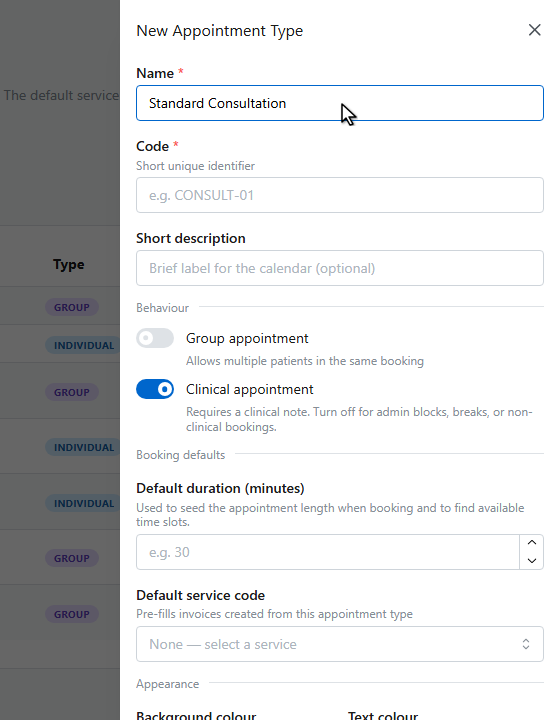
And a short unique code.
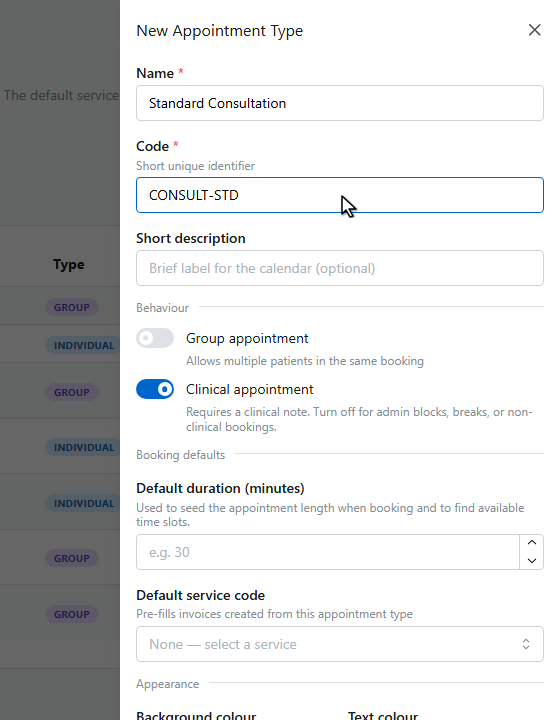
The behaviour switches control whether this is a group appointment, and whether it’s clinical. Clinical appointments require a clinical note, so turn that off for admin blocks and breaks.
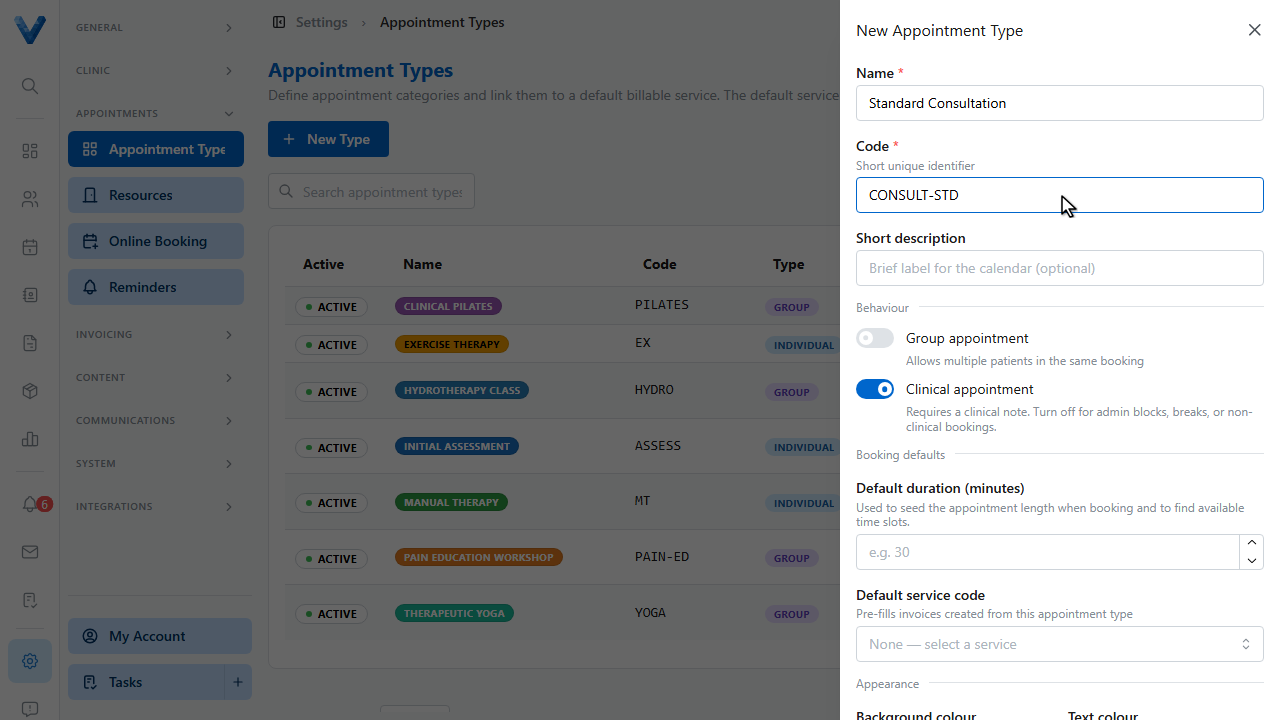
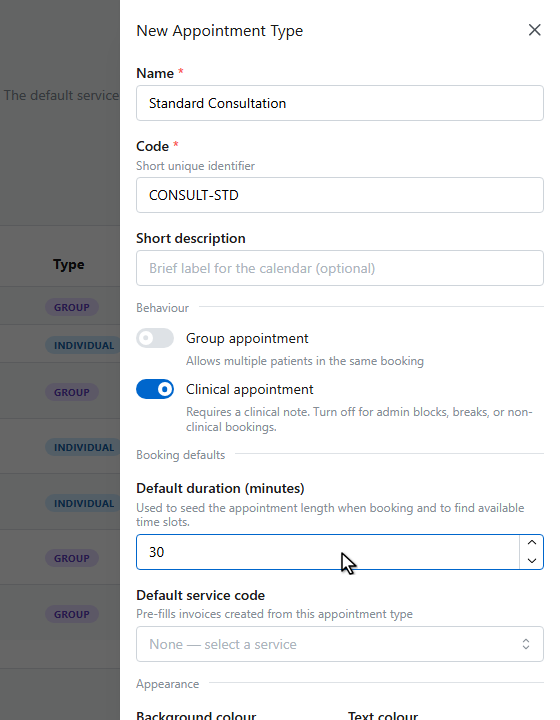
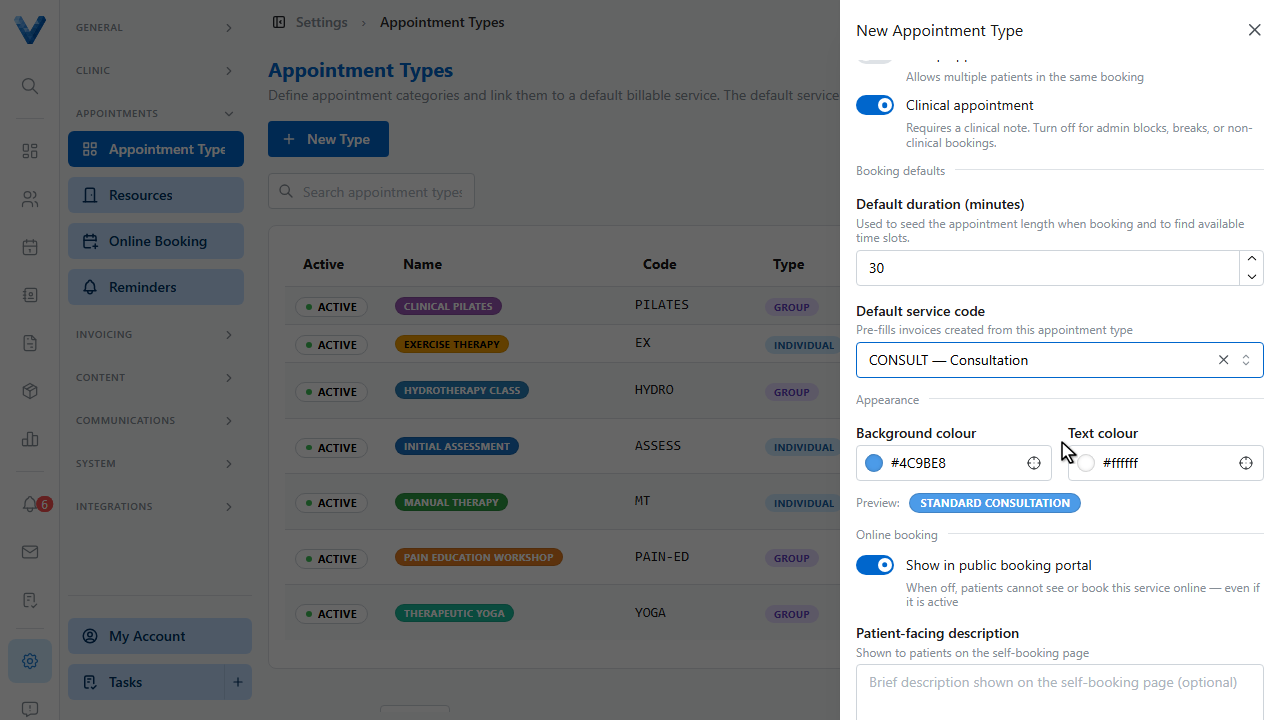
Set the default duration in minutes. This seeds the appointment length when booking.
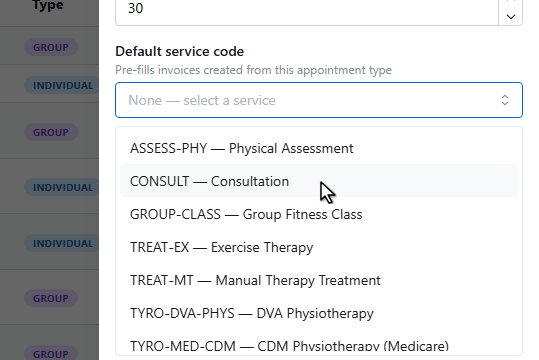
Pick a default service code. This pre-fills the invoice when you generate one from an appointment of this type.
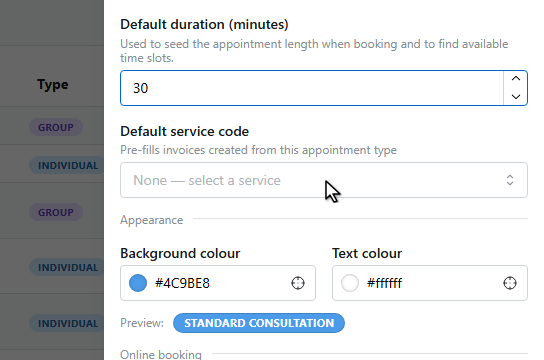
Choose the service this type is billed as.
Under Appearance, pick background and text colours so the type is easy to spot on the calendar. The preview shows how it will look.
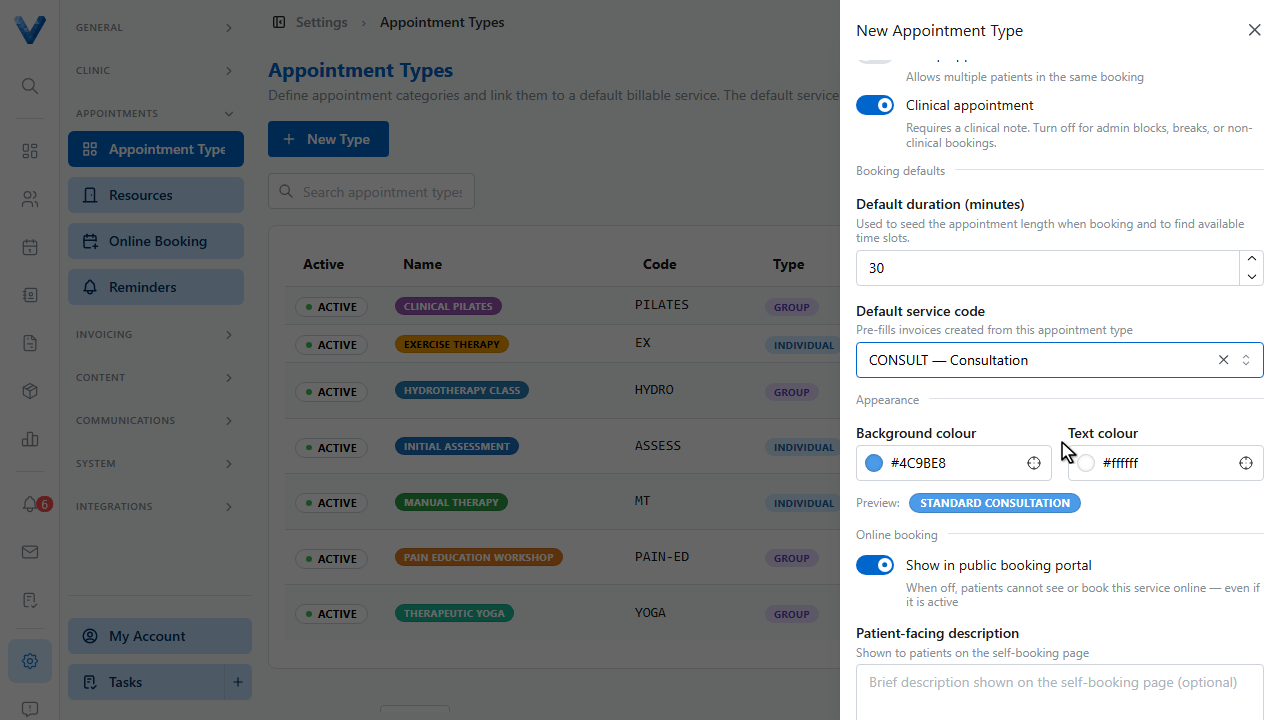
The online booking section controls whether patients can book this type themselves, with a patient facing description and an optional image.
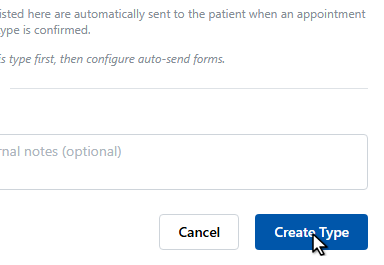
Click Create Type to save it.
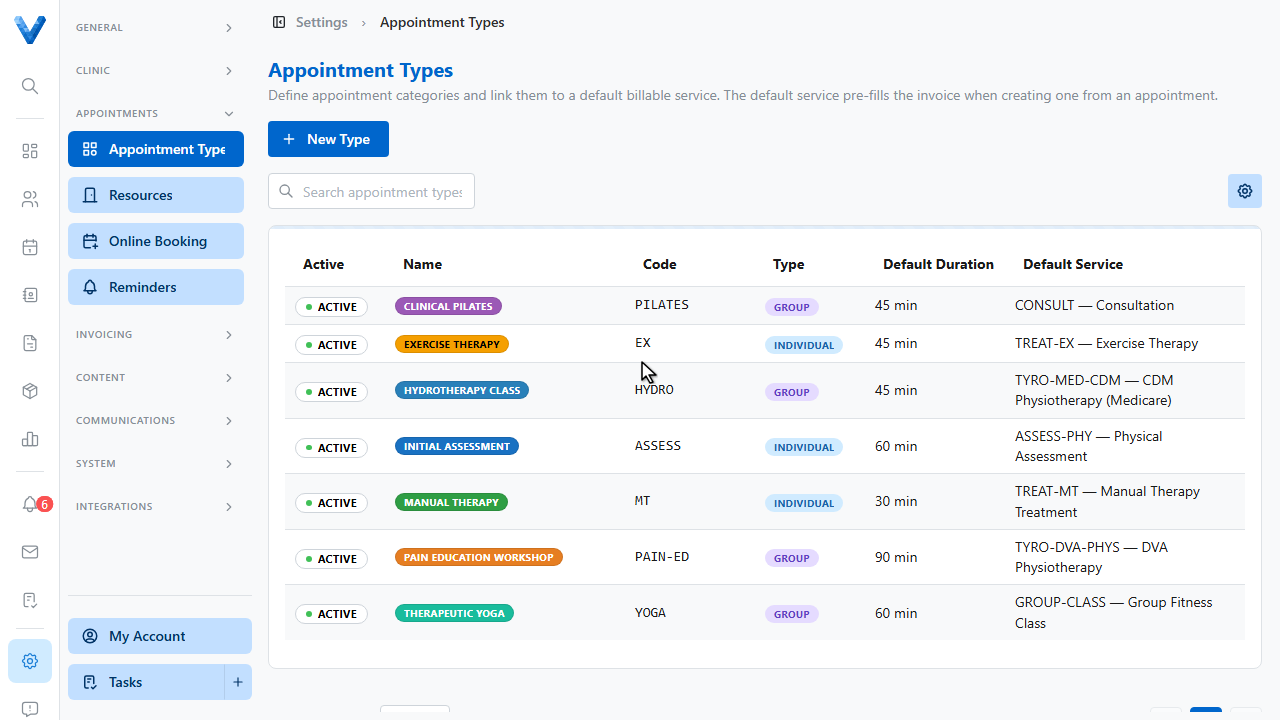
The new type appears in the list, colour coded and ready to book.